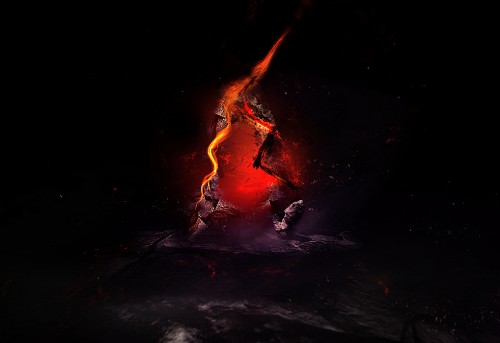
In today's we will present how to make a unique stone and fire text effect in Photoshop Make this tutorial we use black background and texture. So let's check it out...
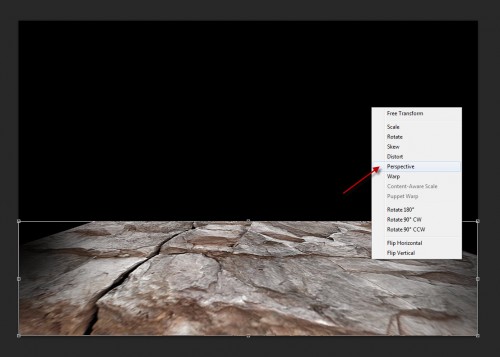
Create a new document with black background, size doesn't matter in this tutorial (I used 1280px * 700px). Load the stone texture image into Photoshop, use the rectangular marquee tool to select a portion, copy and paste it onto our document and apply the "Perspective" free transform to add some depth to the image:
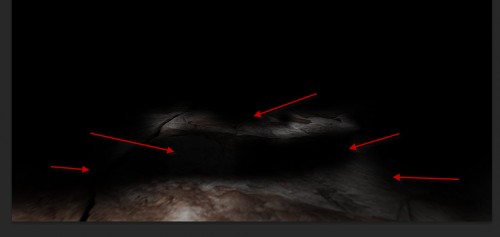
Use a soft eraser to remove some parts of the texture to add some fruther depth into the ground texture:
Add the following 2 adjustment layers on top of the ground layer:
Black and White
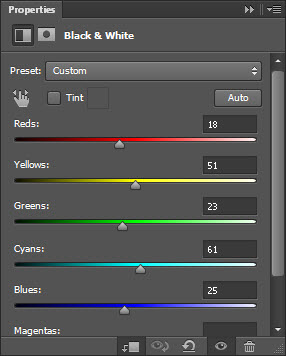
Levels

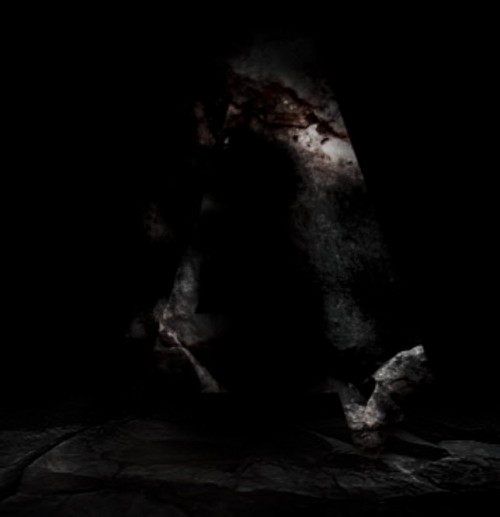
and here is the effect so far:

Step 2
We can type a letter onto the document as shown below:

Load the selection of this text layer and move it over to the stone texture:
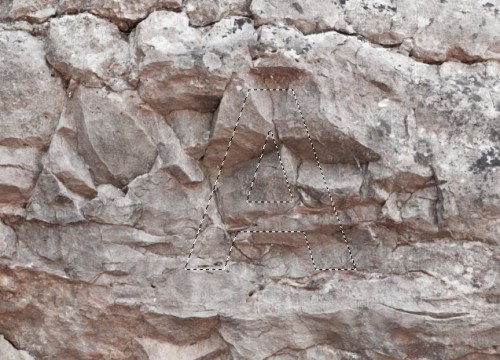
Copy and paste the selection onto our document, turn our original text layer off:
Use a soft eraser to remove some parts of this texture layer:
Add the following 2 adjustment layers as clipping mask to this stone texture layer:
Levels
Curves
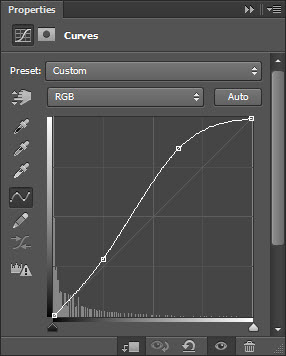
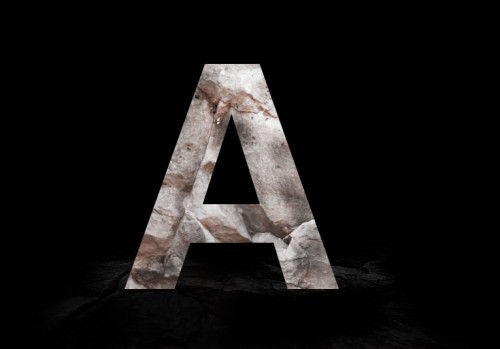
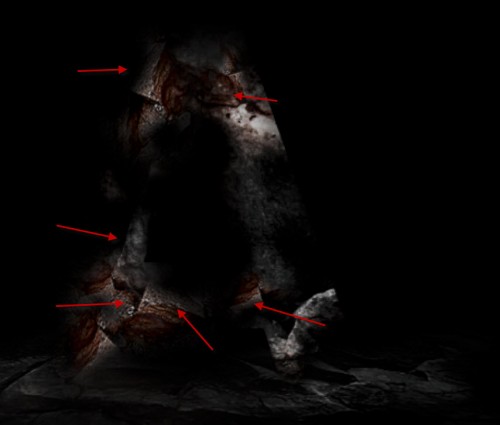
and here is the effect so far:
Step 3
We will add some extra stone texture over the text. Use a 20px Lasso Tool to select a piece of the rock as shown below:

Copy and paste the selection onto our document, resize and fit it to the text:
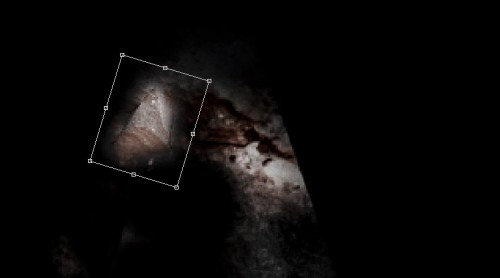
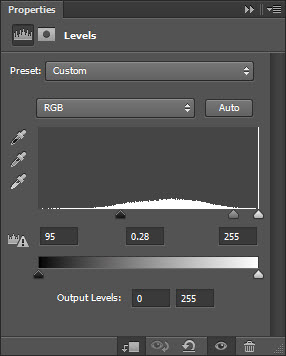
Hit Ctrl + L and use the Levels adjustment settings as shown below:
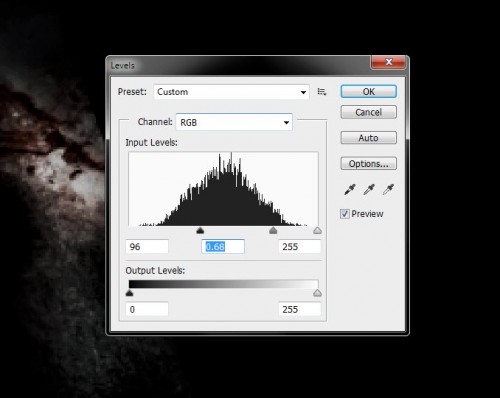
and here is the effect you will have for this new rock: (you can see it's blended-in with the rest of the texture)

Duplicate this layer a few times and move them around text as show below:
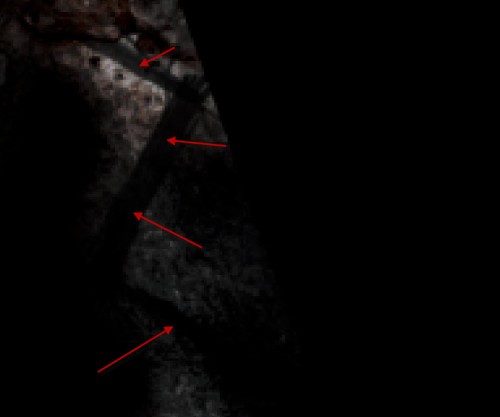
Step 4
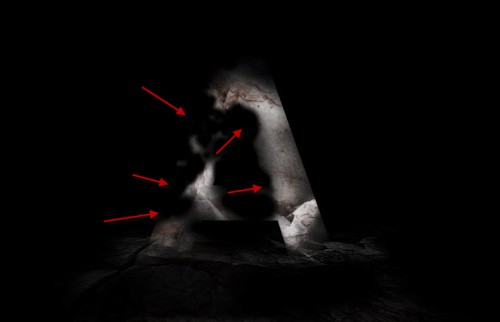
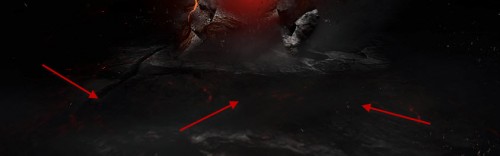
We can create a new layer and use a black brush to paint some crack lines over the stone texture as shown below:
We will fill these crack with fire texture - go to the fire stock image and use a 20px feather Lasso Tool to select a piece:
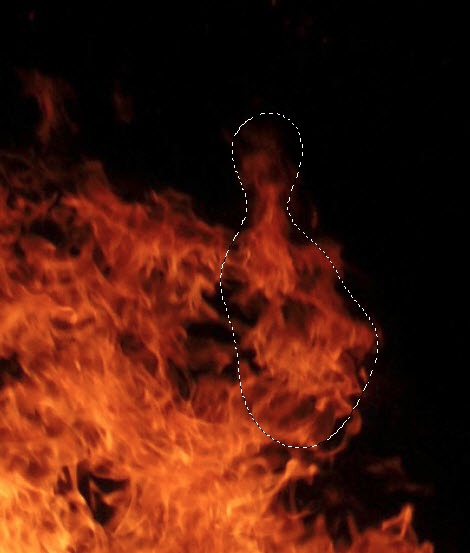
Copy and paste this texture onto our document, use the liquify filter to manipulate this texture as shown below:

and move this texture over the crack, fit it in as shown below:
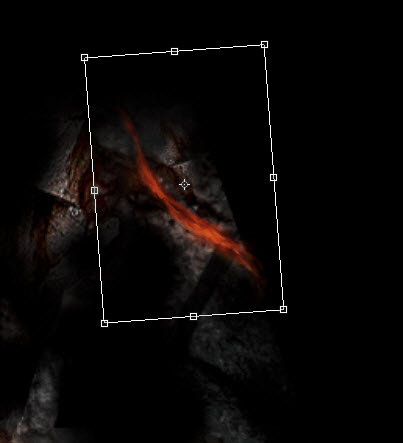
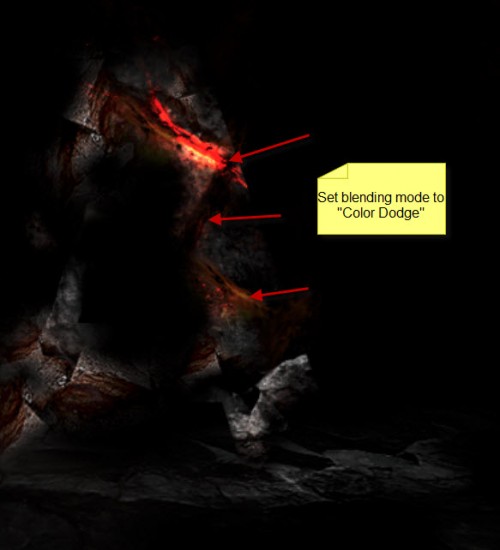
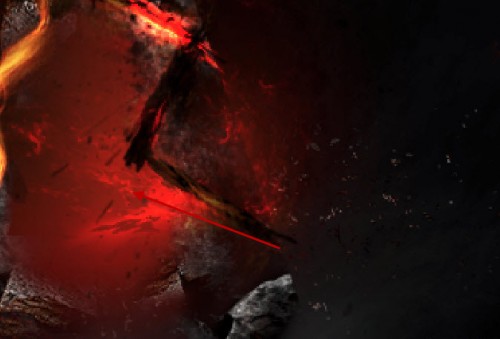
We will set the layer blending mode of the layer to "color dodge", duplicate this layer a few times, and move them to cover all the cracks:
Hint: you can control how much fire is displaying by adjusting the layer opacity.
Step 5
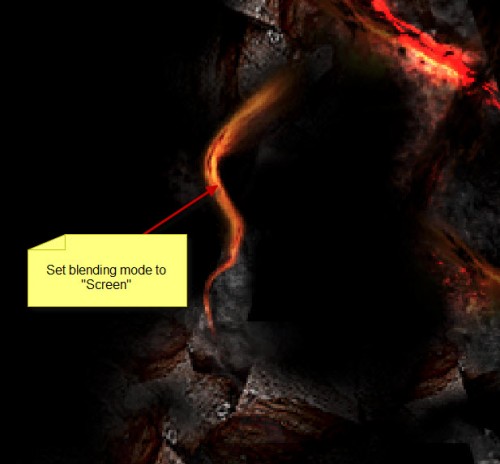
We can add some further fire texture onto the left side of the text using the same liquify technique, but this time we set the layer blending mode to "Screen":
Duplicate this layer a few times, rotate and resize the layers so they have different angles and sizes, forming an effect as shown below:
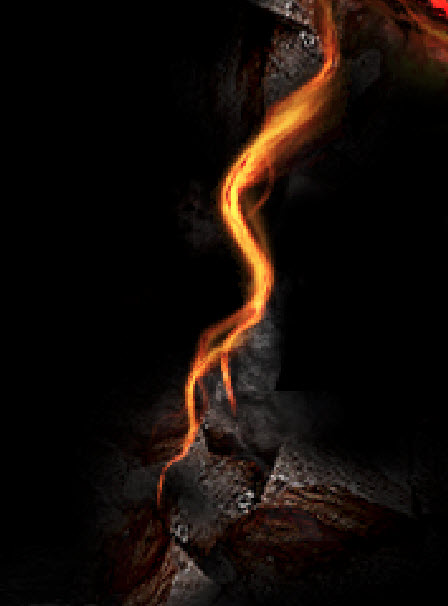
Add some more fire texture on top of the text as well:
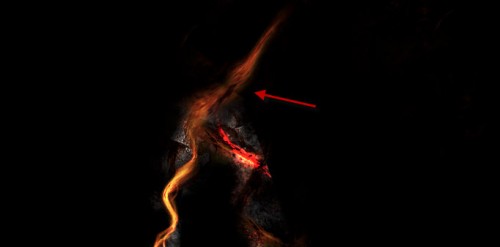
We can add some fire sparks by going back to the fire stock image, copy and paste some more fire texture onto our document, and set the layer blending mode to "color dodge", and you will see those fire texture become sparks:
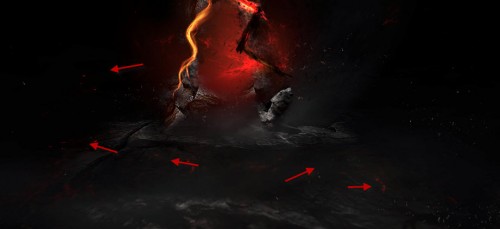
Add some cloud to the ground with the cloud filter or cloud brush to give the image some mystic effect:
Create a new layer beneath the original text layer, use a soft red brush to paint some back light for the text:
I further added some colour onto the image with adjustment layers, and here is my final effect: (click to enlarge)
Hope you can learn something new from this tutorial.
I feel really glad if you give me feedback through comment below. Soon i am going to show more interesting & innovative tutorials so please keep visit our blog. That’s for now.
Have fun!
Feel free to contact with Clipping Design for clipping path service, image editing service, image masking service or any kind of design support.
Thank you…
Credit: webdesign.org
No comments:
Post a Comment