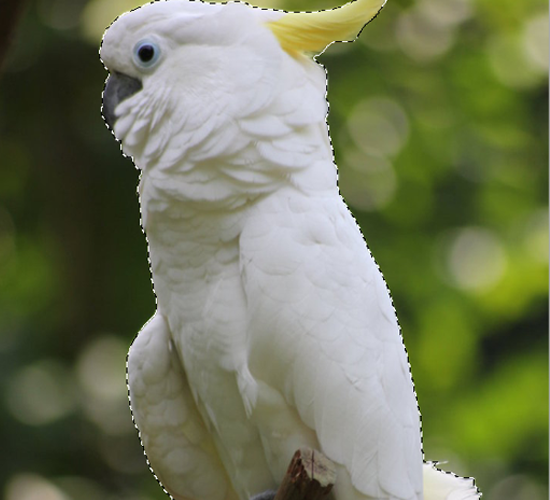
Step 1- Open the image with the Parrot, take the Magic wand tool (W) and select the parrot. Remember to hold 'Shift'.
Step 2- Sometimes if the quick selection tool doesn't do the job, then you need to use the polygon lasso tool (L), press 'ALT'
While inside the selection to cancel out a specific selection.
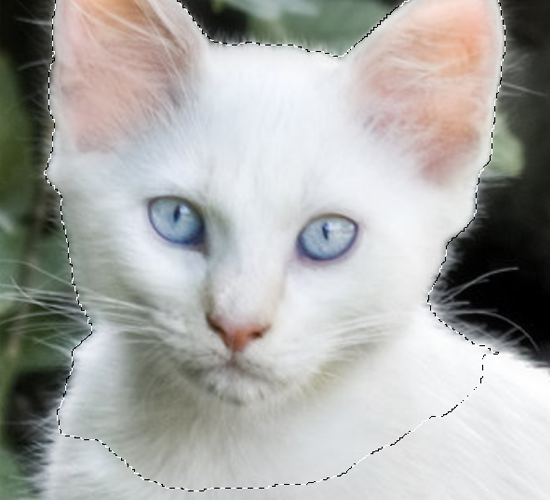
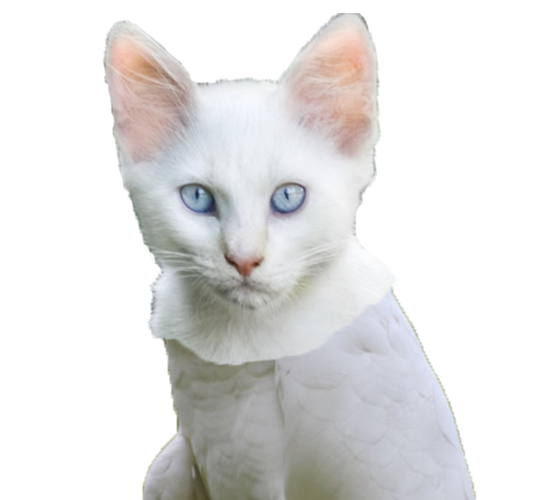
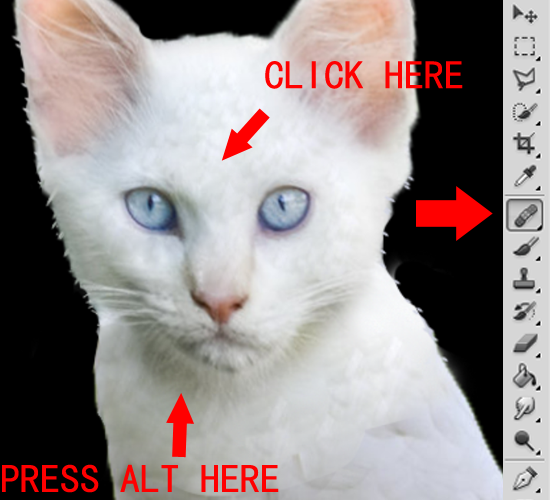
Step 3- Now do the same for the cat. Crop only the cat from its head to the upper neck.
Step 4- File& gt;New or Ctrl N to create a new canvas, Now that we have both pictures in the same canvas it's time to start doing the work on merging photos in photoshop.

Step 5- Now, you need to get to free form transform/ scale by pressing Ctrl T. You'll be able to move and adjust the image proportionally while holding down shift. Now adjust to the size you want to fit in.
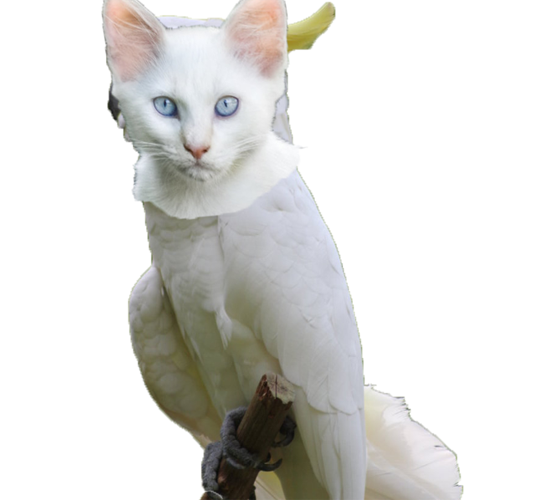
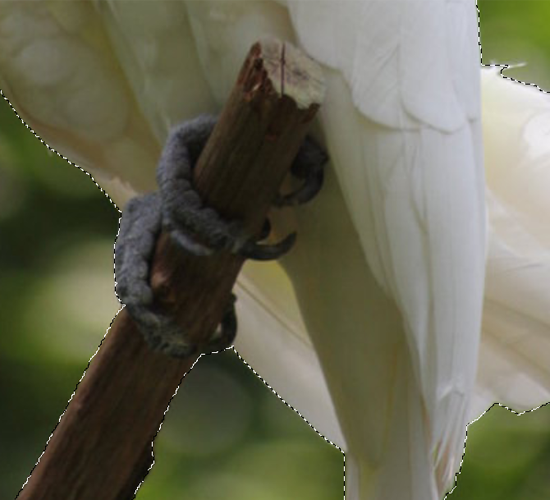
Step 6-Now, you need to apply a mask& nbsp; to this layer. After all the unnecessary stuff is removed from the parrot it should look like this.
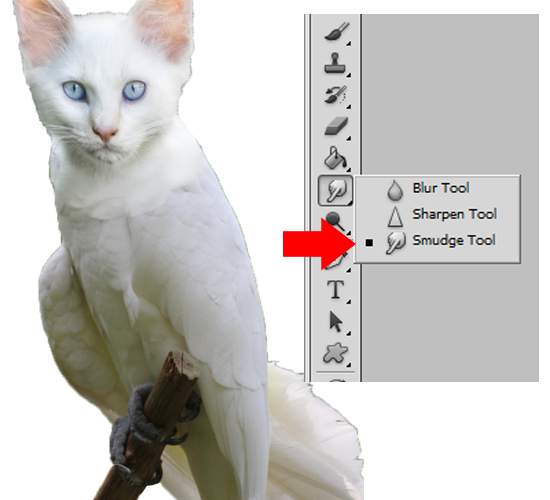
Step 7- Use to smudge tool to create this merging effect.
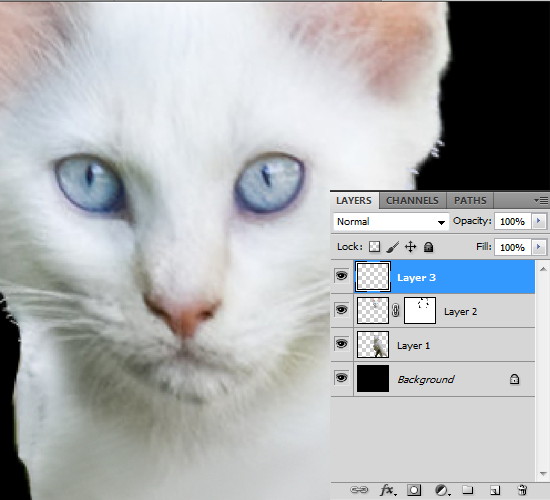
Step 8- Now use the brush tool (B) set it to '2' and start painting the fur for the cat, (this step is optional)
Note:
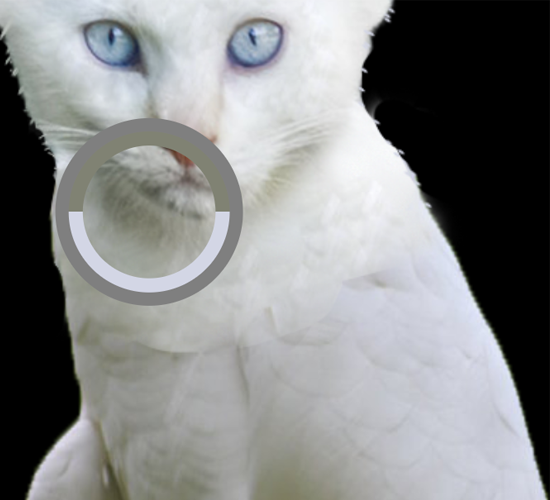
The Healing Brush works the same way as the Clone Stamp tool, but the healing brush tool also matches the texture, lighting, and shading of the sampled pixels to the source pixels. This means that the repaired pixels blend seamlessly into the rest of the image. And this is what makes this tool so incredible powerful when it comes to restoring and retouching pictures.-ALT- for selecting the pixel.
Step 9- Now use the healing brush, to create this feathery fur effect.
Step 10- Time to recreate light! Press 'i' for shortcut key to eye Dropper tool, now pick a dark colour on the feather.
Step 11- Now draw the shadow with the brush to create the shadow or depth effect.

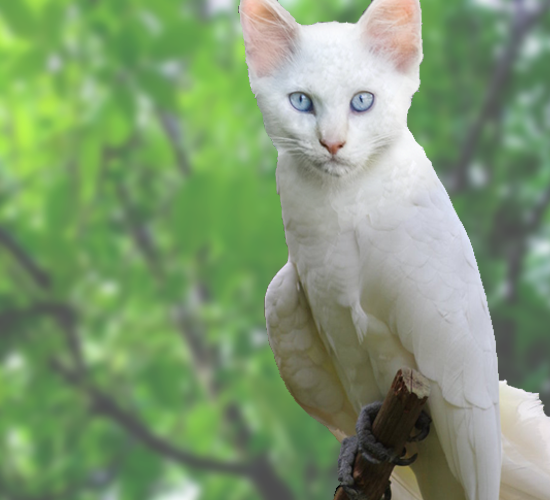
AND WALAH YOUR DONE! ENJOY YOUR CAT AND PARROT HYBRIT!
Hope you can learn something new from this tutorial.
I feel really glad if you give me feedback through comment below. Soon i am going to show more interesting & innovative tutorials so please keep visit our blog. That’s for now.
Have fun!
Feel free to contact with Clipping Design for clipping path service, image editing service, image masking service or any kind of design support.
Thank you… 
Credit: webdesign.org
No comments:
Post a Comment